
Talk · Troubleshooting · Factory & QC failure analysis
Why do charger labels peel or smudge after the climatic test?
The label material, adhesive, ink or the shell surface was not suited to heat and humidity.
 Wecent Editorial Team
Updated
3 min read
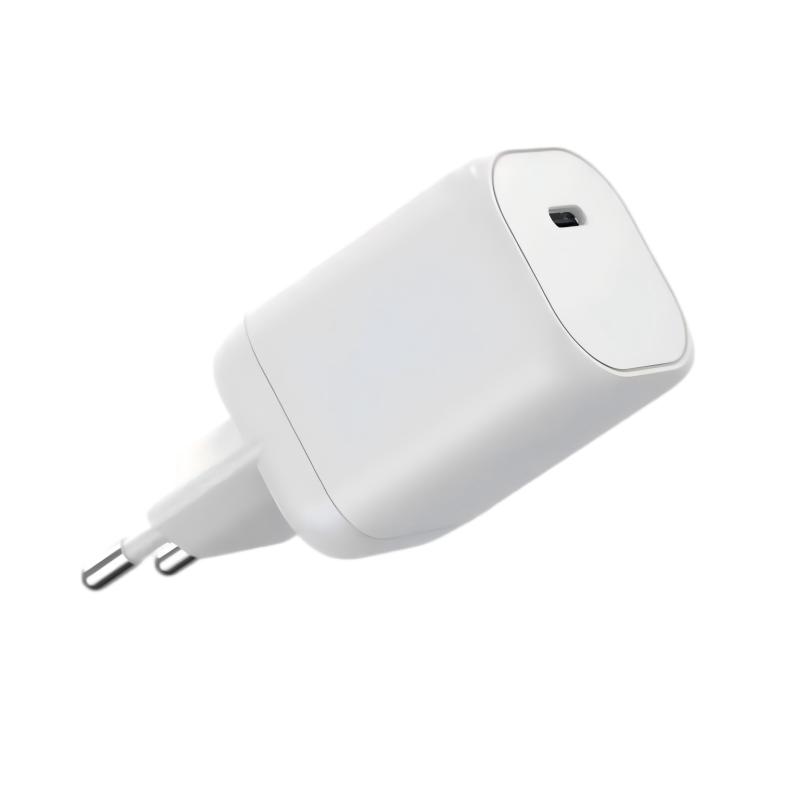
Our charger labels peeled and the print smudged after the humidity and temperature test. What went wrong?
Short answer: The label material, adhesive, ink or the shell surface was not suited to heat and humidity. Common causes are an adhesive that softens, a low-energy or textured surface that the adhesive grips poorly, ink that is not resistant to moisture or rubbing, and no protective layer. Specify the label, adhesive and print, and test them on the real shell.
Why labels matter
The label carries the safety markings, ratings and model information. Regulators, retailers and customers expect it to stay readable and attached for the life of the product. A label that peels or smudges can cause a failure in a compliance check or a customer complaint.
What the climatic test does
Climatic tests expose parts to high humidity, heat, cold and cycles between them. Water vapour reaches the adhesive, heat softens it, and the materials expand and shrink at different rates.
Common causes of failure
- Wrong adhesive. It is too weak, softens in heat or fails with moisture.
- Surface that is hard to stick to. Some plastics, matte textures, silicone coatings and oily surfaces give poor adhesion.
- Dirty or oily shell. Mould release agent or fingerprints stop bonding.
- Short curing time. Labels need time to bond after application.
- Ink not durable. Thermal print or cheap ink can fade, run or smear under humidity or rubbing.
- No protective layer. A laminate or overcoat helps the print survive.
- Label too stiff or too big for a curved surface, so edges lift.
- Application method. Poor pressure, wrinkles or air bubbles.
How to fix it
- Test the label on the real shell in its final texture, colour and coating.
- Choose an adhesive designed for the surface and the temperature range.
- Use durable print and a laminate, and confirm rub and solvent resistance.
- Clean the surface and use a controlled application process, with adequate pressure.
- Allow curing time before testing or packing.
- Consider laser marking or printing directly on the shell for some markings.
- Check recess depth if the label sits in a recess, so that it is protected.
Specify it
Put the label requirements in the specification: material, adhesive, size, print method and test conditions. Ask the supplier for data from rub, humidity, heat and adhesion tests.
Retest
After the change, repeat the climatic test with the new label, and inspect the label for lifting, bubbles, colour change and legibility.
Quick summary
Label failures usually come from adhesive, surface or ink. Specify and test the whole combination on the real product.
Where this answer says to confirm with Wecent, the detail is not published on the product page and has to come from the datasheet or the factory. General facts come from the regulators, standards bodies or device makers named in the text.
Three more perspectives
Products discussed in this thread
Related articles & topics
Have a sourcing question about your own programme?
Ask our team More Factory & QC failure analysis questions