
Talk · Troubleshooting · Factory & QC failure analysis
Why do printed logos pass the first check and fail an abrasion test?
A logo can look fine when new yet bond weakly to the surface.
 Wecent Editorial Team
Updated
3 min read
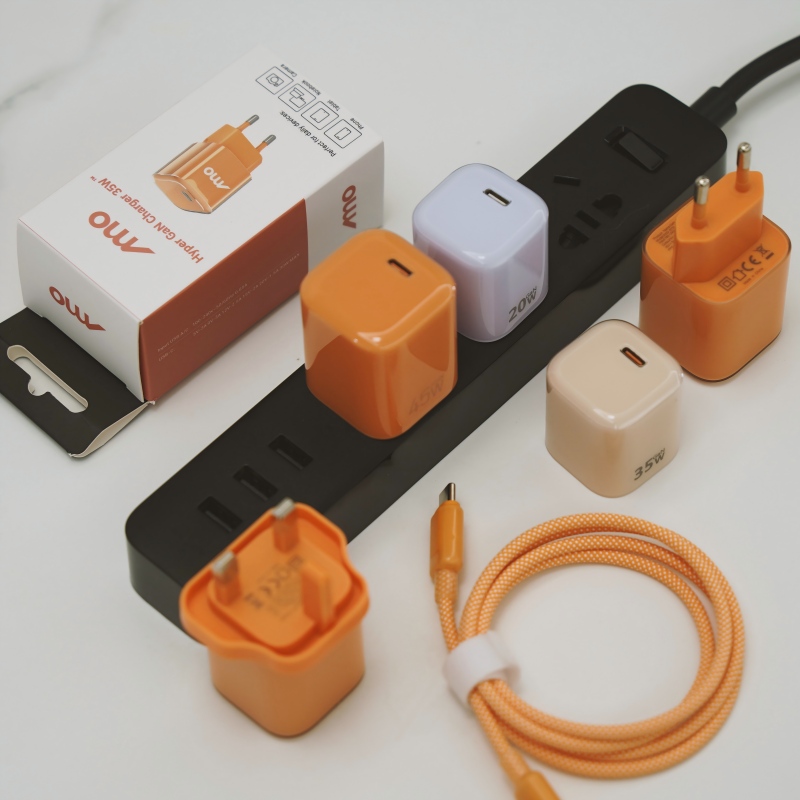
Our logo looks perfect on arrival, but rubs off after a few weeks of use or in the lab abrasion test. Why, and how do we prevent it?
Short answer: A logo can look fine when new yet bond weakly to the surface. Causes include oils or release agent on the plastic, a surface that was not treated, ink that was not fully cured or the wrong ink for the material. Prevent it with a specified adhesion and abrasion test, surface preparation controls and a cure check at each batch.
Why the first check is not enough
A visual check shows the logo is present and clear. It does not show how strongly the ink is bonded. Weak bonding appears only after rubbing, handling, sweat or cleaning.
Typical causes
- Surface contamination. Mould release agent, finger oils or dust stop the ink from bonding.
- Low surface energy. Some plastics, such as certain polypropylene or silicone-rich grades, need treatment before printing.
- Wrong ink. An ink that does not suit the plastic will not adhere well.
- Under-curing. Not enough time or temperature leaves the ink soft.
- Thick or thin ink layer. Both cause weak films.
- Textured surface. Deep texture makes print uneven.
- Premature handling. Parts packed before the ink has cured.
How to test
- Adhesion tape test. Apply tape to the logo, pull it off and check for ink transfer.
- Abrasion test. Rub the logo with a specified weight, material and number of strokes.
- Chemical test. Wipe with alcohol or a hand-sanitiser product to see if the ink dissolves.
- Environmental test. Check the logo after humidity and heat.
What to specify
- The test method, number of cycles and pass criteria.
- The ink type and the pre-treatment, if any.
- Cure time and temperature.
- A sample plan for each batch.
Fixes
Add plasma or flame treatment for difficult plastics, change the ink, increase cure, or consider laser marking or in-mould decoration where the logo is critical.
Record results
Keep test data and photos with the sample approval and check the same test on production units.
Quick summary
Specify adhesion and abrasion tests, control surface preparation and curing, and test every batch on a sample basis. Look at logos after a week of real handling, not only on arrival.
When to change the method
If tests keep failing, stop adjusting the ink and look at the whole process. Laser marking, in-mould decoration or a different material may cost more per unit but remove the problem.
Where this answer says to confirm with Wecent, the detail is not published on the product page and has to come from the datasheet or the factory. General facts come from the regulators, standards bodies or device makers named in the text.
Three more perspectives
Products discussed in this thread


Related articles & topics
Have a sourcing question about your own programme?
Ask our team More Factory & QC failure analysis questions